How to Use Sanding Discs: Your Ultimate Guide for Smooth Finishes?

Sanding discs are essential tools for anyone looking to achieve a smooth finish on wood, metal, or plastic surfaces. Whether you're a seasoned pro or a weekend warrior, knowing how to effectively use sanding discs can significantly enhance the quality of your work. In this article, we’ll explore everything you need to know about sanding discs, including tips for using EZARC blades, sandpaper, flap discs, and flap sanding discs. Get ready to transform your projects with a polished touch!
What Are Sanding Discs?
Sanding discs are circular abrasive materials attached to power tools or handheld sanders to smooth out surfaces. They come in various grits and types, making them versatile for different applications, from rough shaping to fine finishing. Choosing the right sanding disc is crucial for achieving the best results in your projects.
Types of Sanding Discs
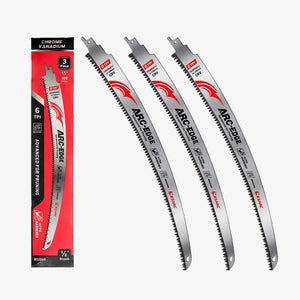
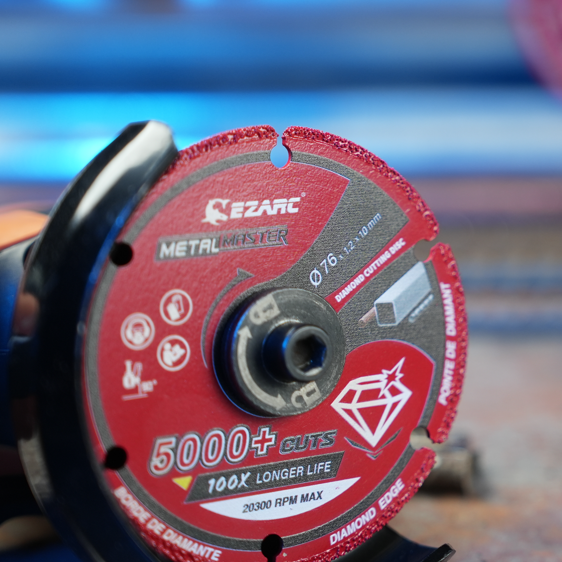
EZARC Blades
EZARC blades are renowned for their durability and efficiency. These sanding discs are designed for high performance, ensuring that they last longer and provide a better finish than standard options. Whether you’re tackling tough materials or delicate surfaces, EZARC blades have you covered.
Sandpaper Discs
Sandpaper discs are the traditional choice for sanding and come in various grits. They are typically made from paper backed with adhesive, allowing them to be easily attached to sanders. Sandpaper is great for general use, from initial sanding to fine finishing.
Flap Discs
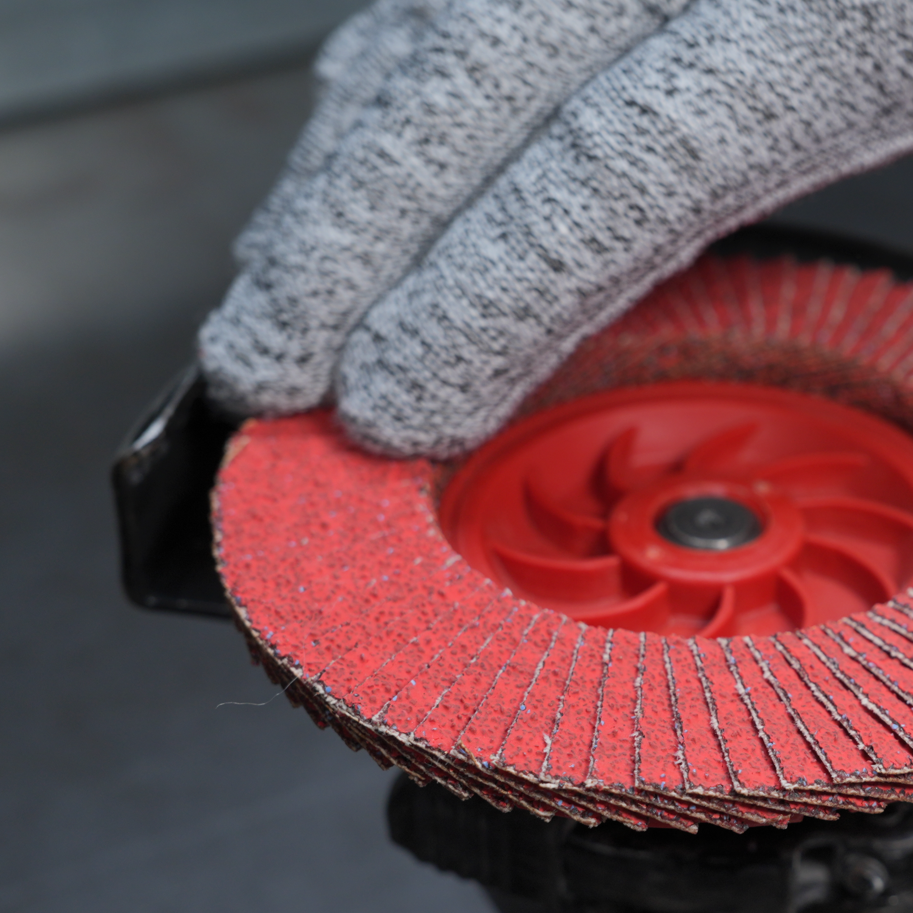
Flap discs are a popular choice for blending and finishing. Made from multiple overlapping pieces of sandpaper attached to a backing plate, they provide a flexible surface that conforms to the material being sanded. This makes them ideal for contouring and getting into hard-to-reach areas.
Flap Sanding Discs
Flap sanding discs offer similar benefits to flap discs but are designed specifically for use on power sanders. They excel at removing material quickly while providing a smooth finish. These discs are perfect for both rough and fine sanding applications.
Choosing the Right Sanding Disc for Your Project
Key Considerations
When selecting a sanding disc, there are several factors to consider:
Grit Size
Grit size determines how aggressive the sanding will be. Lower grit numbers (e.g., 40-60) are for aggressive material removal, while higher grits (e.g., 120-400) are used for finishing. Choose the grit based on the stage of your project.
Material Type
Different materials require different sanding discs. For wood, you might use sandpaper or flap discs. For metal, EZARC blades or flap sanding discs are more effective. Always match the disc to the material for optimal results.
Tool Compatibility
Ensure the sanding disc is compatible with your sander. Some tools require specific attachments, while others have universal fittings. Double-checking compatibility can save you time and frustration.
How to Use Sanding Discs Effectively?

Preparing Your Workspace
Before you start sanding, take a moment to prepare your workspace. Clear the area of debris and ensure you have proper lighting. Always wear safety gear, including goggles and a dust mask, to protect yourself from debris and dust.
Step-by-Step Guide to Using Sanding Discs
Select Your Disc: Choose the appropriate sanding disc based on the material and the level of finish you need.
Attach the Disc: Follow the manufacturer’s instructions to securely attach the sanding disc to your sander. Ensure it’s tight to prevent any accidents during use.
Set Your Tool Speed: Adjust the speed of your sander according to the disc and the material. Generally, higher speeds are better for rough sanding, while lower speeds are best for finishing.
Begin Sanding: Start sanding with light pressure. Let the tool do the work—pressing too hard can damage both the disc and the surface you’re working on.
Monitor Your Progress: Regularly check your work to ensure you’re achieving the desired finish. Change discs as necessary if you notice a drop in performance.
Safety Tips for Sanding
Safety is paramount when using sanding discs. Here are a few quick tips:
- Always wear eye protection and a mask to guard against dust.
- Ensure your workspace is well-ventilated.
- Avoid loose clothing that could get caught in the sander.
Techniques for a Smooth Finish
To achieve a flawless finish, follow these techniques:
- Use overlapping passes to ensure even sanding.
- Sand with the grain of the wood when working with timber.
- For metal, use circular motions to prevent flat spots.
Maintaining Your Sanding Discs
Cleaning After Use
After each use, clean your sanding discs to remove debris and dust. A brush or compressed air works well for this. Proper cleaning can extend the life of your discs significantly.
Storing Your Discs
Store your sanding discs in a cool, dry place away from direct sunlight. Avoid stacking heavy items on top of them to prevent warping or damage.
Conclusion
Sanding discs are vital tools for achieving smooth, professional finishes on various materials. By selecting the right type of disc—be it EZARC blades, sandpaper, flap discs, or flap sanding discs—and using them correctly, you can elevate the quality of your projects. With the right techniques and maintenance, your sanding discs will serve you well for many jobs to come.
Frequently Asked Questions
What are EZARC blades best for?
EZARC blades are best for high-performance sanding tasks, providing durability and a superior finish on various materials.
How do I choose the right grit for my sanding disc?
Choose lower grits (40-60) for aggressive material removal and higher grits (120-400) for finishing touches.
Can I use flap discs for metal sanding?
Yes, flap discs are excellent for metal sanding, offering a flexible surface for blending and finishing.
How often should I change my sanding disc?
Change your sanding disc when you notice a decrease in performance or when it becomes visibly worn.
Are flap sanding discs different from regular flap discs?
Yes, flap sanding discs are specifically designed for power sanders, providing a smoother finish and quicker material removal.

 Oscillating Multi-Tool Blades
 Reciprocating Saw Blades
 Cutting & Grinding
 Hole Saw
 Drilling
 Sanding & Polishing
 Hand Tools
 BEST SELLERS
 NEW ARRIVALS
 Clearance Sale
Leave a comment
This site is protected by hCaptcha and the hCaptcha Privacy Policy and Terms of Service apply.